Craving crispy waffles but don’t own a waffle iron? You’re not alone. Many waffle enthusiasts face this dilemma, but there’s good news. The secret to achieving crispy waffles without a specialized appliance lies in using a grill pan or regular non-stick skillet and perfecting the batter consistency.
With a few simple adjustments to your cooking technique and recipe, you can create delicious waffles that rival those made in a traditional waffle iron. The key is to focus on achieving the right balance of ingredients in your batter and mastering the cooking process to ensure a crispy exterior.
By using common kitchen equipment and following specific tips, anyone can enjoy homemade waffles with that satisfying crunch. This method opens up a world of possibilities for waffle lovers who don’t want to invest in a single-purpose appliance or those who simply enjoy the challenge of culinary improvisation.
Understanding the Basics of Waffle Batter

Waffle batter forms the foundation for crispy, delicious waffles. The right consistency, ingredients, and leavening agents are key to achieving the perfect texture and flavor.
Importance of Consistency
Waffle batter consistency plays a crucial role in creating crispy waffles. A thin batter produces lackluster results, while an overly thick batter can be difficult to spread.
The ideal waffle batter should have a smooth, pourable consistency. It should coat the back of a spoon without being too runny or too thick.
To achieve the right consistency, start with the dry ingredients. Mix flour, sugar, and baking powder in a bowl. In a separate container, combine wet ingredients like eggs, milk, and melted butter.
Gradually add the wet mixture to the dry ingredients, whisking until just combined. Be careful not to overmix, as this can lead to tough waffles.
Choosing the Right Ingredients
The quality of ingredients significantly impacts the final product. Use all-purpose flour for a light texture. Fresh eggs provide structure and richness.
Whole milk adds flavor and helps create a tender crumb. For extra richness, consider using buttermilk or adding a splash of heavy cream.
Melted butter contributes to a crispy exterior and enhances flavor. Some recipes call for vegetable oil instead, which can result in a lighter texture.
Don’t forget vanilla extract for depth of flavor. A pinch of salt balances the sweetness and enhances overall taste.
Role of Baking Powder and Sugar
Baking powder is crucial for achieving light, airy waffles. It acts as a leavening agent, creating bubbles that expand during cooking.
Use about 1 teaspoon of baking powder per cup of flour. For extra-crispy waffles, some recipes suggest adding a small amount of cornstarch.
Sugar serves multiple purposes in waffle batter. It adds sweetness and promotes browning, contributing to a crispy exterior.
Sugar also helps retain moisture, keeping the interior tender. Use about 2-3 tablespoons of sugar per cup of flour for a balanced flavor.
For crispier waffles, consider using granulated sugar. Brown sugar can add a subtle molasses flavor but may result in a softer texture.
Preparing Your Kitchen for Waffle-Making
Creating crispy waffles without a waffle iron requires the right tools and setup. Proper preparation ensures a smooth cooking process and delicious results.
Alternative Cooking Tools
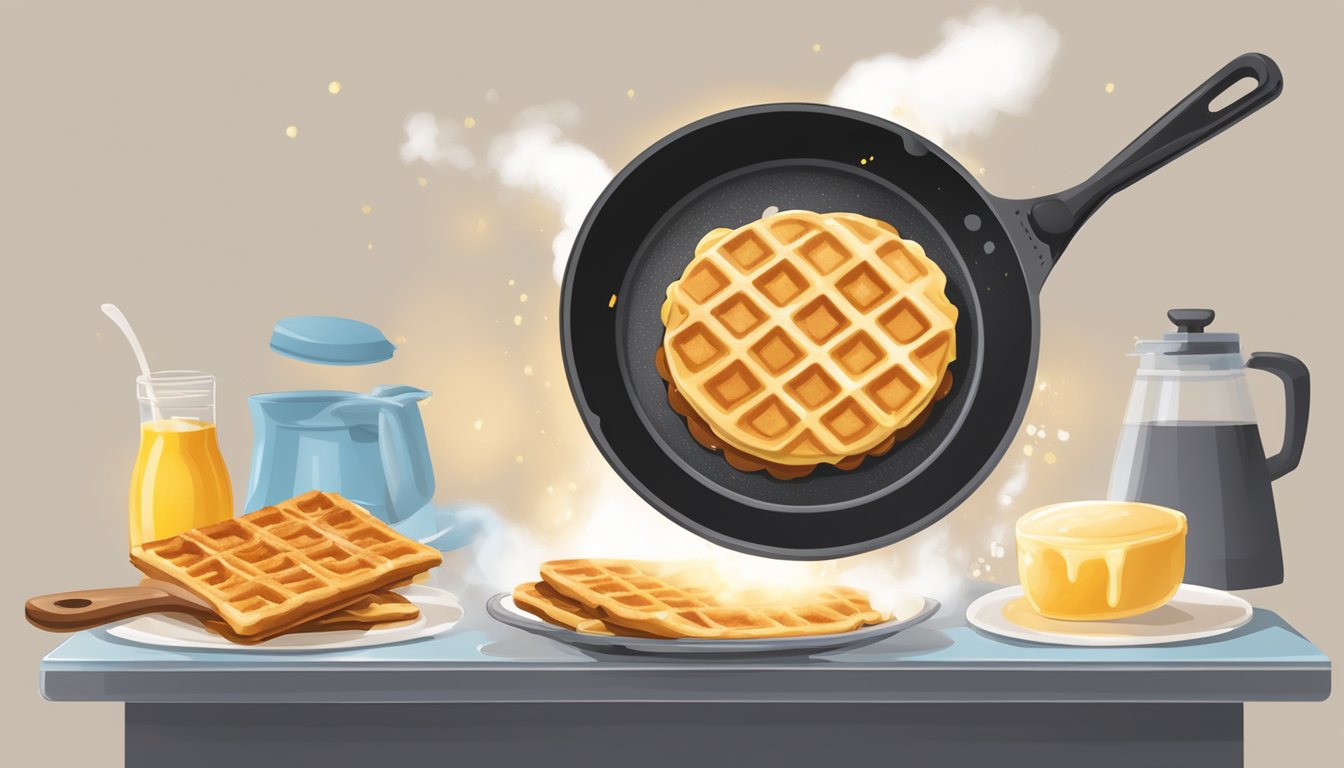
A grill pan serves as an excellent waffle iron substitute. Its ridged surface creates a texture similar to traditional waffles. Heat the pan to medium and brush it with oil before pouring the batter.
A non-stick pan offers another option. While it won’t produce the classic waffle pattern, it can still yield crispy results. Use a slightly lower heat and spread the batter thinly.
Sandwich presses work well for thinner, crispier waffles. Close the press gently to avoid squeezing out too much batter.
Baking sheets allow for larger batches. Spread the batter evenly and bake in a preheated oven. Flip halfway through for even browning.
Silicone waffle molds provide shape and convenience. Place them on a baking sheet before filling with batter.
Prepping Your Non-Waffle Iron Equipment
Clean and dry all cooking surfaces thoroughly. Any moisture can interfere with crispiness.
Preheat your chosen cooking tool. This step is crucial for achieving a golden-brown exterior.
Prepare a cooling rack. This allows air to circulate, preventing soggy bottoms.
Gather essential utensils: a ladle for portioning batter, a spatula for flipping, and tongs for safe handling.
Set up a station with oil or cooking spray for greasing surfaces between batches.
Keep a timer nearby to track cooking times accurately. This helps maintain consistency across batches.
Mastering the Cooking Process
Creating crispy waffles without a waffle iron requires adapting cooking techniques to alternative equipment. The key is achieving even heat distribution and creating those signature waffle indentations.
Using a Grill Pan or Sandwich Press
Preheat the grill pan or sandwich press over medium heat. Lightly grease the surface with butter or oil to prevent sticking. Pour the waffle batter onto the heated surface, ensuring it spreads into any ridges or grooves.
Cook until the batter sets and the edges turn golden brown and crispy. This typically takes 3-4 minutes per side. Carefully flip the waffle to cook the other side evenly.
For sandwich presses, close the lid gently to create indentations without squishing the batter. The raised ridges will produce a texture similar to traditional waffles.
Creating Oven-Baked Waffles
Preheat the oven to 425°F (220°C). Line a baking sheet with parchment paper and lightly grease a waffle-shaped silicone mold or create small circles using metal cookie cutters.
Pour the batter into the molds, filling them about 2/3 full. Bake for 10-12 minutes until the waffles are golden brown and crispy on the edges.
For extra crispiness, brush the waffles with melted butter halfway through baking. This method works well for larger batches and produces evenly cooked waffles with a satisfying crunch.
Stovetop Methods
Heat a non-stick skillet over medium heat. Pour small circles of batter onto the pan, leaving space between each waffle. Cook for 2-3 minutes until bubbles form on the surface.
Flip and cook for an additional 1-2 minutes. To create texture, press a metal potato masher gently onto the cooking waffle for a few seconds.
Another option is using a preheated cast iron skillet. Add batter and immediately place another smaller, heated skillet on top to create pressure and indentations. This method requires careful handling but can produce waffles with a crispy exterior and fluffy interior.
Achieving the Perfect Crispy Texture
Creating crispy waffles without a waffle iron requires careful attention to technique and ingredients. The right approach can yield delicious results with a satisfyingly crunchy exterior.
Tips for a Crispy Exterior
To achieve a crispy exterior, start with a hot cooking surface. Preheat a grill pan or skillet over medium heat. Lightly grease it with butter or oil to prevent sticking.
Pour the batter onto the pan, ensuring it spreads into any ridged areas. Cook until the edges turn golden brown and crispy. This typically takes 3-4 minutes per side.
For extra crispiness, brush melted butter on the cooked waffle and return it to the pan briefly. This creates a thin, crisp layer on the surface.
Using egg whites in the batter can enhance crispiness. They add volume and create a lighter texture that crisps up well during cooking.
Avoiding Common Pitfalls
Overmixing the batter is a common mistake. Mix ingredients just until combined to avoid tough, flat waffles. A few lumps are fine and will cook out.
Don’t flip the waffle too early. Wait until the edges are set and golden brown. Premature flipping can lead to a soggy interior.
Avoid overcrowding the pan. Cook waffles in batches to ensure even heat distribution and proper crisping.
Use the right amount of batter. Too much can lead to undercooked centers, while too little results in dry, overly crisp waffles.
Maintaining Waffle Shape and Structure
Without a waffle iron, maintaining shape can be challenging. Use a ladle or measuring cup to pour consistent amounts of batter.
Create defined edges by using a spatula to shape the batter immediately after pouring. This helps achieve a more traditional waffle appearance.
Allow the first side to cook thoroughly before flipping. This sets the shape and makes turning easier.
For thicker waffles, use a slightly thicker batter. Add a bit more flour to your recipe to help the waffle hold its shape better.
Consider using a waffle batter ring or mold on the pan. This helps contain the batter and creates more defined edges.
Serving and Customizing Your Waffles

Crispy waffles made without a waffle iron offer endless possibilities for toppings and serving styles. These versatile breakfast treats can be dressed up or down to suit any occasion.
Ideas for Toppings and Fillings
Fresh fruit is a classic choice for waffle toppings. Sliced strawberries, blueberries, or bananas add natural sweetness and vibrant color. For a more indulgent option, try whipped cream or a scoop of vanilla ice cream.
Maple syrup remains a staple topping, but consider exploring other syrups like honey or fruit compotes. Nutella, peanut butter, or cream cheese can be spread on waffles for added richness.
Savory toppings work well too. Try fried chicken for a twist on chicken and waffles, or top with a fried egg and bacon for a hearty breakfast.
Serving Suggestions for All Occasions
For a casual breakfast, serve waffles straight from the waffle cake pan with a selection of toppings on the side. This allows everyone to customize their plate.
For brunch gatherings, create a waffle bar. Set out various toppings, syrups, and fruits for guests to mix and match. Include both sweet and savory options to cater to different preferences.
To elevate waffles for dessert, layer them with ice cream and toppings to create a waffle sundae. Alternatively, use them as a base for fruit shortcakes or layer with cream for a quick waffle cake.
Advanced Techniques and Variations
Exploring creative waffle-making methods opens up exciting possibilities. These approaches allow for unique textures and shapes without a traditional waffle iron.
Experimenting with Waffle Recipes
Classic waffle recipes can be adapted for alternative cooking methods. Adding cornstarch to the flour mixture helps create a crispier exterior. Separating egg whites and folding them in last introduces extra air, resulting in a lighter texture.
Try incorporating different flours like whole wheat or almond for varied flavors and nutritional profiles. Spices such as cinnamon or nutmeg can add depth to the batter.
For extra crunch, consider adding crushed nuts or toasted coconut flakes. These ingredients provide texture and complement the waffle’s crispy exterior.
Using Silicone Molds and Other Creative Shapes
Silicone molds offer versatility in waffle shapes and sizes. Heart-shaped, square, or even character-themed molds can make breakfast more entertaining.
Preheat the oven to 350°F (180°C). Grease the molds lightly to prevent sticking. Pour batter into the molds, leaving room for expansion. Bake until golden brown and crispy, typically 15-20 minutes.
A panini press can also create waffle-like textures. Preheat the press, pour batter onto the lower plate, close, and cook until crisp. This method produces thinner, crispier waffles with distinctive grill marks.
For those without specialized equipment, a grill pan on the stovetop can yield satisfying results. Heat the pan, pour small amounts of batter, and cook until bubbles form. Flip and cook until both sides are golden.
