Homemade pop tarts offer a delightful twist on the classic breakfast treat many remember from childhood. These flaky pastries filled with sweet fruit preserves or cinnamon-sugar mixtures can be easily recreated in your own kitchen. With just a few simple ingredients like pie crust, fillings, and icing, you can make pop tarts that rival or even surpass the store-bought versions.
Making pop tarts at home allows for customization of flavors and fillings to suit individual tastes. From traditional strawberry to creative combinations like peanut butter and jelly, the possibilities are endless. The process involves cutting pastry dough, adding filling, sealing the edges, and baking until golden brown.
These homemade treats can serve as both a special breakfast item and a satisfying dessert. By controlling the ingredients, bakers can create a healthier version of the popular toaster pastry while still maintaining its nostalgic appeal. The hands-on nature of making pop tarts from scratch also provides an opportunity for a fun family baking project.
Gathering Ingredients

To make homemade pop tarts, you’ll need a few key ingredients. Start with all-purpose flour, granulated sugar, and unsalted butter for the pastry dough. These form the base of the flaky crust.
For fillings, gather an assortment of spreads and jams. Popular options include:
- Strawberry jam
- Chocolate spread
- Nutella
- Apple butter
- Lemon curd
Don’t forget to pick up milk and an egg for the egg wash, which gives the pop tarts a golden sheen.
For a fresher taste, consider using frozen fruit or homemade jam as fillings. These can provide more vibrant flavors than store-bought options.
Measure out your ingredients before starting. This ensures you have everything on hand and in the right amounts. A digital kitchen scale can be helpful for precise measurements.
Store ingredients properly before use. Keep butter cold in the refrigerator until needed. This helps create a flakier crust. Room temperature jams and spreads are easier to work with when filling the pastries.
Creating the Dough
The foundation of delicious homemade pop tarts lies in crafting the perfect pastry dough. This process involves carefully combining dry ingredients, incorporating butter and wet elements, and allowing the dough to chill for optimal texture.
Mixing the Dry Ingredients
In a large bowl, whisk together 2 cups of all-purpose flour, 1 tablespoon of granulated sugar, and 1/2 teaspoon of salt. These dry ingredients form the base of the pie crust. For a tender pastry, it’s crucial to measure the flour accurately, preferably using a kitchen scale.
Sifting the dry ingredients helps remove any lumps and ensures even distribution. This step contributes to a smoother, more uniform dough texture.
Incorporating Butter and Wet Ingredients
Cut 1 cup of cold, unsalted butter into small cubes. Using a pastry cutter or two forks, work the butter into the dry ingredients until the mixture resembles coarse crumbs. This technique creates pockets of butter that will result in a flaky crust.
In a separate bowl, whisk one large egg with 2 tablespoons of cold water. Gradually add this mixture to the flour-butter combination, stirring gently with a fork until the dough just comes together.
Be careful not to overmix, as this can lead to a tough pastry crust.
Chilling the Dough
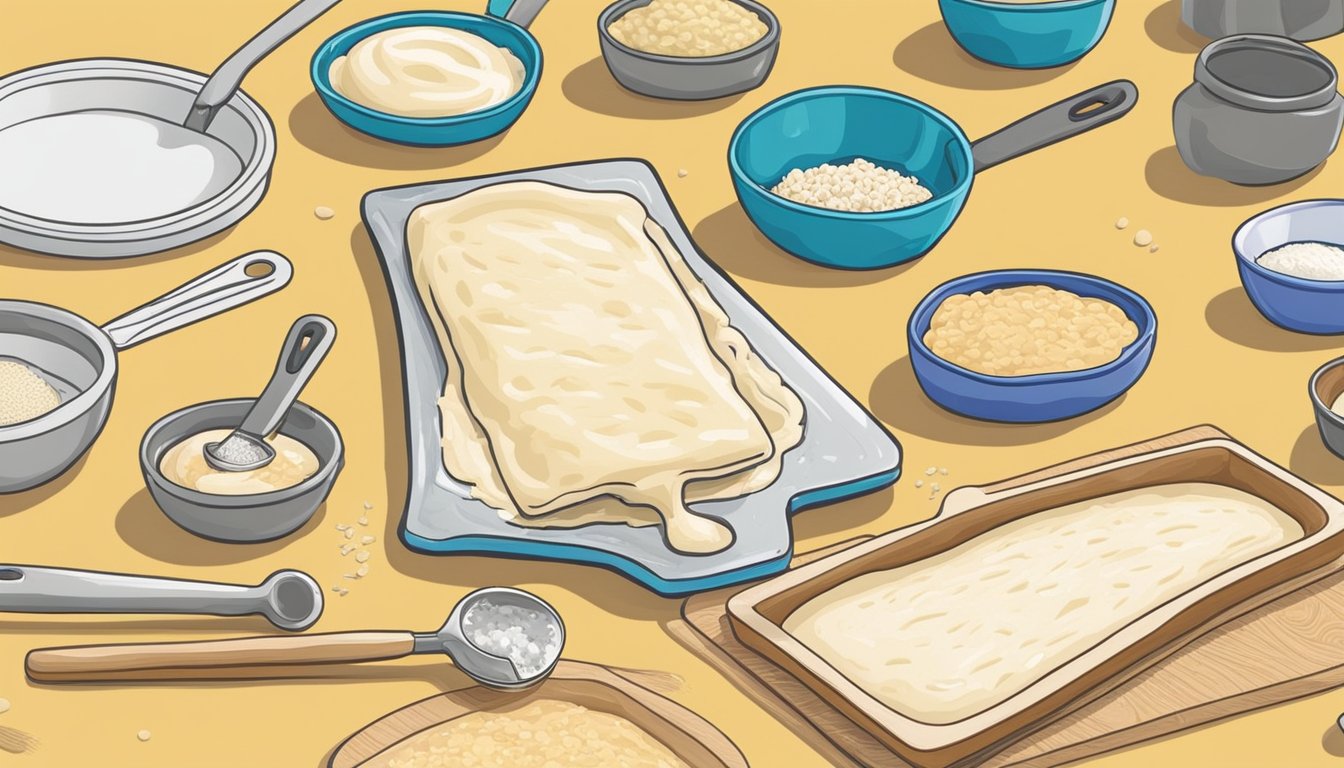
Divide the dough into two equal portions and shape each into a flat disk. Wrap the disks tightly in plastic wrap and refrigerate for at least 1 hour, or up to overnight.
Chilling allows the gluten in the flour to relax, resulting in a more tender crust. It also firms up the butter, which helps maintain the flaky texture of the finished pop tarts.
Before rolling out the chilled dough, let it sit at room temperature for 5-10 minutes to slightly soften. This makes it easier to work with and prevents cracking.
Rolling and Shaping
Rolling and shaping the dough is crucial for creating perfect homemade pop tarts. Proper technique ensures even pastry thickness and uniform shapes for a professional-looking result.
Rolling Out the Dough
Divide the prepared dough in half. Keep one half refrigerated while working with the other. Lightly flour a clean surface to prevent sticking.
Roll the dough into a 13 by 11 inch rectangle, approximately 1/4 inch thick. Use even pressure and roll from the center outwards for consistent thickness.
Rotate the dough occasionally to maintain an even shape. If the dough becomes too warm, return it to the refrigerator for a few minutes to firm up.
Cutting the Pastry
Trim the edges of the rolled dough to create a neat 12 by 10 inch rectangle. This ensures straight sides for a polished appearance.
Cut the dough into eight 5 by 3 inch rectangles. A pizza cutter or sharp knife works well for clean cuts. These rectangles will form the top and bottom of the pop tarts.
Transfer half of the cut rectangles to a baking sheet lined with parchment paper. These will serve as the bases for the pop tarts.
Forming Pop Tarts Shapes
Place a spoonful of filling in the center of each rectangle on the baking sheet. Leave a border around the edges for sealing.
Cover each filled rectangle with a second piece of dough. Gently press the edges together with your fingers to seal in the filling.
Use a fork to crimp the edges, creating the classic pop tart look. Press firmly to ensure a good seal and prevent filling from leaking during baking.
Prick the top of each pop tart with a fork to allow steam to escape. This helps prevent the pastry from puffing up excessively during baking.
Preparing the Filling
The filling is the heart of any homemade pop tart. A well-prepared filling enhances flavor and texture, making your pop tarts irresistible.
Choosing the Filling
Selecting the right filling is crucial for delicious homemade pop tarts. Fruit fillings are popular choices, with strawberry being a classic favorite. Store-bought jams offer convenience, while homemade versions allow for customization.
For a quick option, use high-quality store-bought jam. Look for varieties with chunks of fruit for added texture. Alternatively, make a simple homemade filling by cooking fresh or frozen fruit with sugar until thickened.
Brown sugar cinnamon filling provides a warm, comforting flavor profile. Mix brown sugar, cinnamon, and a touch of flour to create this sweet, spiced filling.
Making the Jam Filling
Creating a homemade jam filling elevates pop tarts to a new level. Start with fresh or frozen fruit, such as strawberries for classic homemade strawberry pop tarts.
Ingredients:
- 2 cups chopped strawberries
- 1/4 cup sugar
- 1 tablespoon cornstarch
- 1 tablespoon lemon juice
Instructions:
- Combine ingredients in a saucepan
- Cook over medium heat, stirring frequently
- Simmer until thickened, about 10-15 minutes
- Cool completely before using
This method works well for various fruits. Adjust sugar levels based on the fruit’s natural sweetness.
Alternative Fillings
Experiment with unique fillings to create exciting pop tart variations. Nutella or chocolate spreads make indulgent choices. For a savory twist, try cheese and herb combinations.
Nut butter fillings offer a protein-rich option. Mix almond or peanut butter with a touch of honey for sweetness. Add chopped nuts for extra crunch.
Apple cinnamon filling brings fall flavors year-round:
- Dice apples and cook with cinnamon, sugar, and a splash of lemon juice
- Simmer until soft and syrupy
- Cool before using
For a tangy option, lemon curd provides a bright, zesty filling. Use store-bought or make your own for a fresh taste.
Assembling and Baking
Assembling and baking homemade pop tarts requires attention to detail and proper technique. This crucial stage transforms raw ingredients into delicious breakfast pastries.
Assembling the Pop Tarts
Roll out the dough on a lightly floured surface to a 1/4 inch thickness. Cut the dough into evenly sized rectangles, approximately 5 by 3 inches each. Place a spoonful of filling in the center of half the rectangles, leaving a border around the edges.
Cover each filled rectangle with a plain dough rectangle. Press the edges firmly with a fork to seal. This step prevents filling from leaking during baking.
Transfer the assembled pop tarts to a baking sheet lined with parchment paper. Space them evenly to allow for expansion during baking.
Applying Egg Wash
Prepare an egg wash by beating an egg with a tablespoon of water. Brush the tops of the pop tarts lightly with the egg wash using a pastry brush.
This step gives the pastries a golden-brown sheen when baked. Be careful not to oversaturate the dough, as this can lead to soggy pastries.
Use a fork to poke several holes in the top of each pop tart. This allows steam to escape during baking and prevents the pastries from puffing up excessively.
Baking the Pop Tarts
Preheat the oven to 350°F (175°C). Place the baking sheet with the prepared pop tarts in the center rack of the oven.
Bake for 25-30 minutes, rotating the pan halfway through to ensure even browning. The pop tarts are done when they turn golden brown and the edges are slightly darker.
Remove from the oven and let cool on the baking sheet for 5 minutes. Transfer to a wire rack to cool completely before icing or serving.
For a crispier texture, some bakers prefer a higher temperature of 400°F (200°C) for 18-20 minutes. Adjust baking time and temperature based on your oven and desired outcome.
Decorating the Pop Tarts
The final step in creating delicious homemade pop tarts is decorating them with icing and toppings. This adds visual appeal and extra flavor to your treats.
Preparing the Icing
Mix 1 cup of powdered sugar with 2 tablespoons of milk and 1/4 teaspoon of vanilla extract in a bowl. Stir until smooth and lump-free. If the icing is too thick, add more milk a few drops at a time. For thicker icing, add more powdered sugar.
For chocolate icing, add 2 tablespoons of cocoa powder to the mixture. Adjust consistency as needed.
Allow pop tarts to cool completely before icing. Spread a thin layer of icing over each tart using a butter knife or small spatula. Let the icing set for about 30 minutes before adding additional decorations.
Adding Sprinkles and Toppings
Once the base icing layer has set, it’s time to add fun toppings. Colorful sprinkles are a classic choice. Gently shake them over the iced pop tarts.
Other topping options include:
- Crushed nuts
- Shredded coconut
- Mini chocolate chips
- Dried fruit bits
For a marbled effect, drizzle a contrasting icing color over the base layer. Use a toothpick to swirl the colors together gently.
Allow decorated pop tarts to set completely before serving or storing. This ensures toppings adhere properly and prevents smudging.
Storage and Freshness

Homemade pop tarts are best enjoyed fresh, but proper storage can help maintain their quality for several days. Store them in an airtight container at room temperature for 2-3 days to preserve their texture and flavor.
For longer-term storage, freezing is an excellent option. Once cooled completely, place the pop tarts in a freezer-safe container or zipper bag. They can be frozen for up to 4 months without significant loss of quality.
To reheat frozen pop tarts, simply toast them or warm them in the oven. This method works particularly well for brown sugar cinnamon pop tarts, as it helps restore their crisp exterior and gooey interior.
Unlike store-bought versions, homemade pop tarts lack preservatives. This means they won’t stay fresh as long, but it also results in a more natural, wholesome snack.
A handy storage hack is to individually wrap each pop tart in plastic wrap before placing them in the airtight container. This extra layer of protection helps prevent moisture loss and keeps them fresher for longer.
For optimal freshness, it’s recommended to make smaller batches more frequently rather than large quantities at once. This ensures you always have delicious, fresh pop tarts on hand for breakfast or snacks.
Serving Suggestions
Homemade pop tarts make a delightful breakfast treat or snack. Serve them warm for the best flavor and texture. Let them cool slightly after baking to avoid burning your tongue on hot fillings.
For a classic presentation, arrange pop tarts on a plate with a side of fresh fruit. This balances the sweetness and adds nutritional value to the meal.
Try pairing pop tarts with a glass of cold milk or a cup of hot coffee. The combination of warm pastry and cool beverage creates a satisfying contrast.
Get creative with toppings to enhance your homemade pop tarts:
- Drizzle melted chocolate over fruit-filled varieties
- Sprinkle cinnamon sugar on brown sugar cinnamon pop tarts
- Add a dollop of whipped cream for extra indulgence
For special occasions, create a pop tart bar. Offer various flavors and let guests choose their favorites. Include bowls of different toppings for customization.
Transform pop tarts into a dessert by serving them with a scoop of vanilla ice cream. The warm pastry and cold ice cream make an irresistible duo.
Pack cooled pop tarts in lunchboxes or bring them along for picnics. They travel well and provide a tasty homemade treat on the go.


