
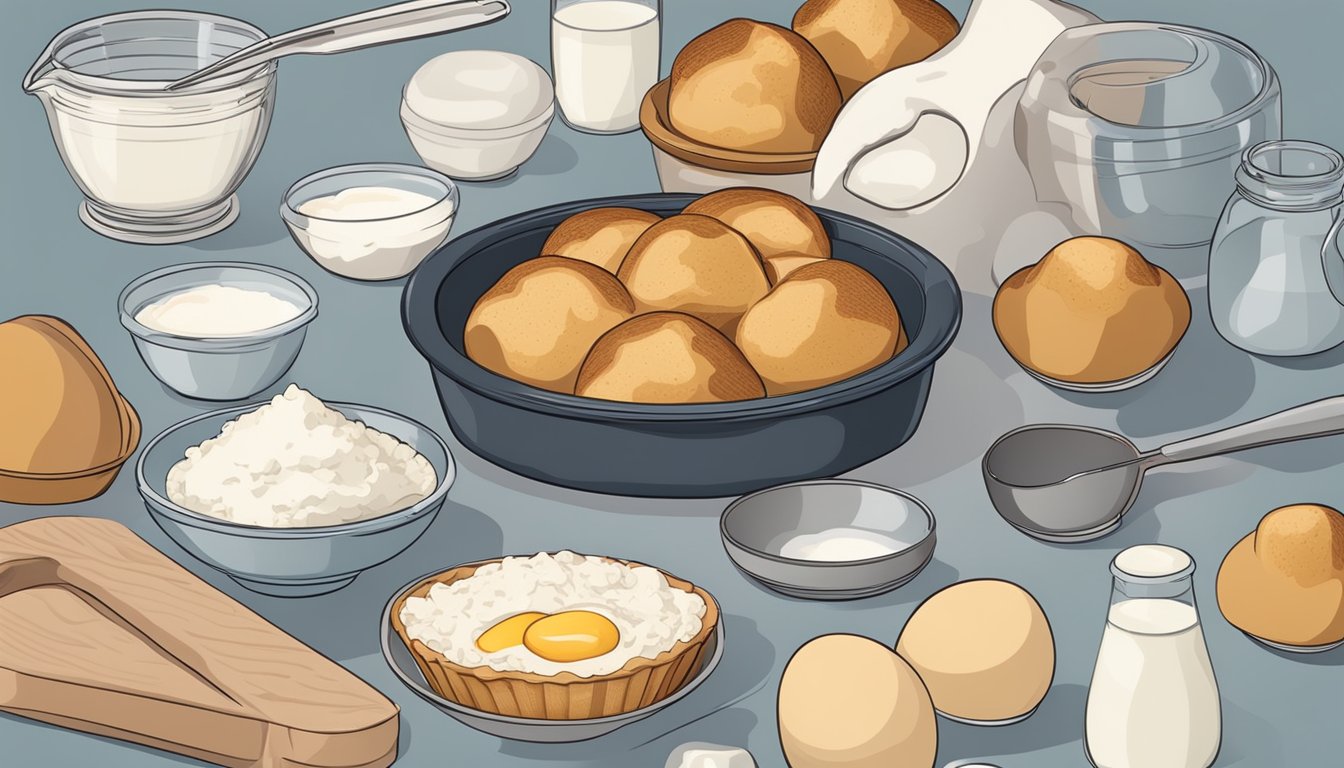
Breakfast popovers are a delightful way to start the day. These light, airy pastries puff up dramatically in the oven, creating a crisp exterior and a soft, custardy interior. To make homemade breakfast popovers, you’ll need just a few simple ingredients: eggs, milk, flour, salt, and butter.
The key to perfect popovers lies in the preparation. Begin by preheating the oven to 425°F and thoroughly greasing a popover pan or muffin tin. Combine room temperature eggs and warm milk, whisking until smooth. Sift in the flour and salt, then blend the batter until just mixed. Avoid overmixing to maintain the popovers’ signature texture.
Pour the batter into the prepared pan, filling each cup about two-thirds full. Place the pan in the hot oven and resist the urge to peek inside for at least 20 minutes. The high heat causes the batter to rise quickly, creating that distinctive popover shape. Once golden brown and puffed, remove from the oven and serve immediately for the best taste and texture.
Understanding the Basics of Popovers
Popovers are light, airy pastries that puff up dramatically when baked. They require just a few simple ingredients and some key techniques to achieve their signature shape and texture.
The Simple Ingredients
Popovers call for four basic ingredients: eggs, milk, flour, and salt. Some recipes incorporate a small amount of melted butter or sugar for added flavor. The eggs provide structure and help create the popover’s hollow interior. Milk adds moisture and helps create steam during baking. Flour forms the base of the batter, while salt enhances the flavor.
To prepare the batter, blend the milk and eggs until frothy. Sift the flour and salt together, then add to the liquid mixture. Whisk until just combined, being careful not to overmix. Some recipes suggest letting the batter rest for 30 minutes to an hour before baking.
Popover Pan vs. Muffin Tin
While a specialized popover pan is ideal, a standard muffin tin can also produce good results. Popover pans have deeper, straighter-sided cups that allow the batter to rise higher and create a more dramatic shape. Muffin tins have shallower, sloped sides, resulting in slightly shorter popovers.
Regardless of the pan used, it’s crucial to preheat it in the oven before adding the batter. This helps create an initial burst of steam that contributes to the popover’s rise. Grease the pan well to prevent sticking.
Popover Characteristics: Crispy Exterior and Hollow Interior
The hallmark of a perfect popover is its contrasting textures: a crispy, golden-brown exterior and a soft, hollow interior. This unique structure results from the baking process. As the batter heats up, steam forms and causes the popover to expand rapidly.
The high heat at the beginning of baking sets the exterior quickly, while the interior continues to cook and hollow out. To achieve this, start baking at a high temperature (around 425°F) for the first 15-20 minutes, then reduce the heat to finish cooking. Avoid opening the oven door during baking, as this can cause the popovers to collapse.
Preparing the Batter

Creating the perfect popover batter is crucial for achieving light, airy results. The key lies in proper mixing techniques and ingredient ratios.
Steps to Whisking the Perfect Batter
Start by whisking 2 large eggs in a bowl until well combined. Gradually add 1 cup of whole milk while continuing to whisk. In a separate bowl, mix 1 cup of all-purpose flour with 1/4 teaspoon of salt.
Add the dry ingredients to the wet mixture in small batches, whisking constantly to prevent lumps. The batter should be smooth and have a thin, pourable consistency.
Let the batter rest at room temperature for 30 minutes. This allows the flour to absorb the liquid, resulting in a more even texture.
Using a Blender for Smoothness
A blender can create an ultra-smooth batter quickly and easily. Add all ingredients to the blender in this order: milk, eggs, flour, and salt.
Blend on medium speed for 30 seconds, then scrape down the sides. Blend for another 30 seconds until completely smooth.
Pour the batter through a fine-mesh strainer to catch any remaining lumps. This extra step ensures a silky-smooth texture.
The Role of Eggs and Milk in Batter Consistency
Eggs provide structure and richness to popovers. They create steam during baking, which helps the popovers rise and form their characteristic hollow centers.
Whole milk contributes to a tender texture and golden-brown color. The fat content in whole milk aids in creating a crisp exterior.
The ratio of liquid (eggs and milk) to flour is crucial. Too much liquid results in dense, eggy popovers. Too little liquid produces dry, heavy popovers.
For best results, use room temperature eggs and milk. Cold ingredients can inhibit rising and lead to a denser texture.
Baking Technique and Tips
Achieving perfect popovers requires precise temperature control, proper pan preparation, and careful timing. These elements work together to create light, airy popovers with a golden-brown exterior.
Preheating to the Right Oven Temperature
Preheating the oven is crucial for popover success. Set the temperature to 450°F (230°C) and allow ample time for the oven to reach this heat. A hot oven ensures rapid steam formation inside the batter, which is essential for the popovers to rise properly.
Place the rack in the lower third of the oven. This positioning provides enough space for the popovers to expand upward without burning their tops.
Some bakers recommend starting at a higher temperature and then reducing it partway through baking. This method can help create a crisp exterior while maintaining a soft interior.
Preparing the Pan and the Importance of Heat
A popover pan is ideal, but a muffin tin can work in a pinch. Whichever you choose, proper preparation is key.
Grease each cup generously with butter or cooking spray. This prevents sticking and aids in the formation of a crisp exterior.
Place the prepared pan in the oven while it preheats. A hot pan helps create an initial burst of steam when the batter is added, promoting better rise.
Fill each cup about 2/3 to 3/4 full with batter. Avoid overfilling, as this can lead to spilling and uneven baking.
Cooking Time for Golden-Brown Popovers
Bake popovers for about 20 minutes at 450°F (230°C). Resist the urge to open the oven door during this initial period, as temperature fluctuations can cause the popovers to collapse.
After 20 minutes, reduce the temperature to 350°F (175°C) and continue baking for an additional 15-20 minutes. This lower temperature allows the popovers to finish cooking through without burning.
The popovers are done when they’ve puffed up significantly and turned a deep golden-brown color. Their exteriors should feel firm and crisp to the touch.
For extra crispiness, consider turning off the oven and leaving the popovers inside for an extra 5 minutes with the door slightly ajar.
Customizing Your Popovers

Popovers offer endless possibilities for creative flavors and textures. Experiment with fillings, toppings, and variations to transform this simple breakfast treat into a gourmet delight.
Sweet and Savory Filling Ideas
Enhance your popovers with delectable fillings. For sweet options, try apple cinnamon compote, lemon curd, or Nutella. Savory enthusiasts can opt for scrambled eggs with chives, roast beef with horseradish cream, or smoked salmon with dill.
Create a breakfast sandwich by slicing popovers and filling them with ham and cheese. For a decadent treat, stuff them with vanilla pastry cream and dust with powdered sugar.
Vegetarian options include sautéed mushrooms with thyme or spinach and feta cheese. Meat lovers can indulge in crispy bacon bits mixed into the batter before baking.
Creative Butters and Toppings
Elevate your popovers with unique butters and toppings. Whip up strawberry butter by blending fresh strawberries with softened butter and a touch of honey. Maple butter adds a rich, sweet flavor – simply mix pure maple syrup into softened butter.
For savory options, try herb-infused butter with chives, parsley, and garlic. Bacon butter, made by mixing crispy bacon bits into softened butter, adds a smoky flavor.
Top your popovers with a drizzle of warm maple syrup, a dusting of powdered sugar, or a dollop of homemade jam. For a savory twist, sprinkle with grated Parmesan cheese or spread with creamy goat cheese.
Popover Variations without Yeast
Create unique popover variations without using yeast. Add grated cheese to the batter for cheesy popovers – cheddar, Gruyère, or Parmesan work well. Incorporate herbs like rosemary, thyme, or chives for an aromatic twist.
For a healthier option, use whole wheat flour for part of the batter. Add a tablespoon of ground flaxseed for extra nutrition. Create mini popovers by using a muffin tin instead of a popover pan.
Experiment with different liquids in place of milk. Try buttermilk for a tangy flavor or coconut milk for a tropical twist. For a savory variation, use beef or chicken broth as part of the liquid.
Serving Suggestions

Popovers make a delightful addition to any breakfast or brunch spread. Their light, airy texture and crisp exterior complement a variety of savory and sweet accompaniments.
Pairing with Breakfast Staples
Popovers pair wonderfully with classic breakfast items. Serve them alongside scrambled eggs for a satisfying meal. The eggs’ creamy texture contrasts nicely with the popover’s crispy shell.
For a savory twist, spread bacon jam on warm popovers. The sweet-salty flavor enhances the popover’s subtle taste.
Butter and jam are simple yet delicious toppings. Try different fruit preserves for variety.
Popovers also work well with heartier breakfast meats like sausage or ham. Their neutral flavor balances richer foods.
Consider serving popovers with fresh fruit or a light fruit salad. The combination offers a mix of textures and flavors.
Incorporating Popovers into Brunch
Popovers elevate any brunch menu. Use them as a base for eggs benedict, replacing English muffins for a unique twist.
Create a popover bar with various spreads and toppings. Offer options like herb butter, smoked salmon, and cream cheese.
Serve mini popovers as part of a brunch buffet. Their small size allows guests to sample other dishes too.
For a savory option, fill popovers with creamed spinach or mushrooms. This mimics Yorkshire pudding, traditionally served with beef drippings.
Popovers also work well in a brunch bread basket. Include them alongside croissants and muffins for variety.
Sweet brunch ideas include filling popovers with whipped cream and fresh berries or drizzling them with maple syrup.
Safety and Cleanup

Making popovers requires careful handling of hot equipment and proper cleaning techniques. Prioritizing safety in the kitchen and maintaining your baking tools will ensure an enjoyable popover-making experience.
Using Oven Mitts and Handling Hot Pans
Always use oven mitts when handling hot popover pans or muffin tins. The metal retains heat and can cause severe burns if touched directly. Place hot pans on heat-resistant surfaces, away from flammable items.
Allow pans to cool slightly before removing popovers. Use a non-metal utensil to loosen the edges if needed. Transfer popovers to a cooling rack promptly to prevent overcooking.
Keep children and pets away from hot baking equipment. Never leave hot pans unattended on stovetops or counters.
Cleaning the Popover Pan or Muffin Tin
Clean popover pans or muffin tins after they have cooled completely. Soak them in warm, soapy water to loosen any stuck-on batter or residue.
Use a soft sponge or cloth to clean the pan gently. Avoid abrasive scrubbers that can damage non-stick coatings. For stubborn spots, create a paste with baking soda and water.
Rinse the pan thoroughly and dry it with a clean towel. Store pans in a dry place to prevent rust or damage.
If using a non-stick pan, avoid using metal utensils or harsh cleaning agents that can scratch the surface. Regular maintenance will extend the life of your baking equipment.