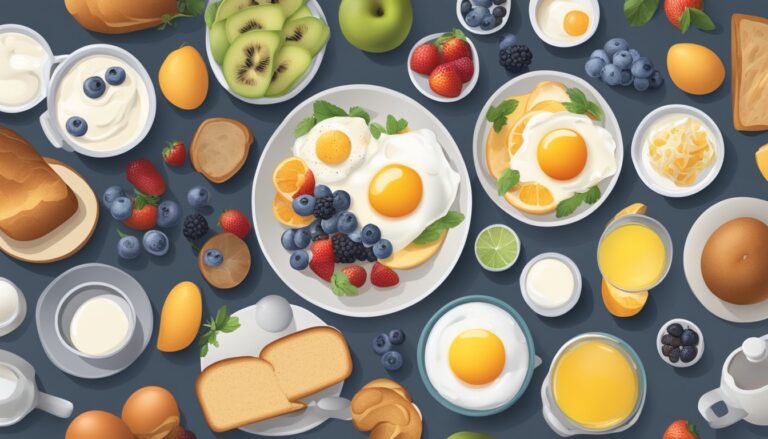
Homemade breakfast danishes are a delightful way to start your day with a touch of European flair. These flaky, sweet pastries filled with creamy cheese or fruit preserves can be surprisingly simple to make in your own kitchen. With just a few basic ingredients like flour, butter, yeast, and milk, you can create warm, freshly-baked danishes that rival those from a bakery.
The key to perfect homemade danishes lies in the laminated dough, which creates those signature crisp, buttery layers. While traditional methods can be time-consuming, there are simplified techniques that yield excellent results without hours of folding and chilling. Many recipes use shortcuts like grated frozen butter or sour cream to achieve a tender, flaky texture with less effort.
Homemade breakfast danishes offer endless possibilities for customization. Once you master the basic dough, you can experiment with various fillings such as cream cheese, fruit preserves, or even savory options. The aroma of these pastries baking will fill your home with warmth and comfort, making them an ideal choice for weekend brunches or special morning treats.
Understanding Danish Pastries
Danish pastries are beloved breakfast treats known for their flaky layers and sweet fillings. These pastries combine buttery dough with fruit, nuts, or custard to create indulgent morning delights.
History and Definition
Danish pastries originated in Denmark in the 1850s. Bakers there adapted Austrian techniques to create a uniquely Danish treat. The pastries feature a laminated dough, made by folding butter into yeasted dough multiple times. This process creates the signature flaky layers.
Danish pastries typically have a rectangular or circular shape. They often include fruit preserves, cream cheese, or almond paste fillings. A glaze or icing usually tops the pastry.
Types of Danish Pastries
Danish pastries come in various shapes and flavors. Common types include:
- Spandauer: Circular pastry with custard or jam filling
- Kanelsnurrer: Cinnamon roll-like pastry
- Frøsnapper: Poppy seed-filled twisted pastry
- Wienerbrød: General term for Danish pastries, often filled with marzipan
Fruit-filled Danish pastries often feature apples, cherries, or apricots. Cream cheese Danishes are popular in North America. Some variations include nuts like almonds or pecans for added crunch and flavor.
Ingredients for Danish Dough

The key to delicious Danish pastry lies in selecting high-quality ingredients and understanding their roles. Each component contributes to the dough’s texture, flavor, and structure.
Flour Selection
All-purpose flour is the foundation of Danish pastry dough. It provides the right balance of protein content for a tender yet sturdy pastry. For best results, use unbleached all-purpose flour with a protein content of 10-12%. This ensures enough gluten development for structure without making the dough too tough.
Some bakers prefer to mix in a small amount of cake flour for added tenderness. A ratio of 3 parts all-purpose to 1 part cake flour can yield excellent results. Always sift the flour before measuring to ensure accuracy and prevent lumps in the dough.
Butter Quality and Alternatives
High-quality unsalted butter is crucial for authentic Danish pastry. European-style butter with a higher fat content (82-84%) is ideal, as it creates flakier layers and richer flavor. The butter should be cold and firm for proper lamination.
For dairy-free options, solid coconut oil or vegan butter substitutes can work, though they may alter the flavor and texture slightly. Regardless of the fat used, it’s essential to keep it cold throughout the folding process to achieve distinct layers.
Yeast Types
Active dry yeast and instant yeast are both suitable for Danish dough. Active dry yeast needs to be dissolved in warm liquid before use, while instant yeast can be mixed directly with dry ingredients.
For 500g of flour, use about 7g (2 1/4 teaspoons) of active dry yeast or 5g (1 3/4 teaspoons) of instant yeast. Fresh yeast is another option, particularly favored in European baking. Use 14g of fresh yeast as an equivalent to 7g of active dry yeast.
• Active Dry Yeast: Dissolve in warm liquid (105-110°F)
• Instant Yeast: Mix directly with dry ingredients
• Fresh Yeast: Crumble and dissolve in warm liquid (95-100°F)
Dairy Products and Substitutes
Whole milk adds richness and helps activate the yeast. For a more tender crumb, some recipes include eggs, which also contribute to the dough’s golden color and flavor.
Milk alternatives like almond, soy, or oat milk can be used for dairy-free versions. When substituting, ensure the liquid temperature is appropriate for yeast activation.
Other essential ingredients include:
- Sugar: Feeds the yeast and adds sweetness
- Salt: Enhances flavor and controls yeast activity
- Eggs: Optional, but adds richness and color
Adjust liquid amounts if using egg-free recipes to maintain proper dough consistency.
Creating the Dough

Making Danish pastry dough requires careful attention to ingredients, techniques, and timing. The process involves mixing, kneading, and proofing to achieve the perfect flaky texture.
Mixing the Ingredients
Start by gathering high-quality flour, yeast, sugar, salt, milk, eggs, and butter. In a large bowl, combine the dry ingredients. Warm the milk to about 40°C (104°F) and mix in the yeast and a tablespoon of sugar. Let it sit for 5 minutes until foamy.
Create a well in the dry ingredients and pour in the yeast mixture, eggs, and softened butter. Mix gently with a wooden spoon or dough hook until a shaggy dough forms. Be careful not to overmix at this stage.
For the signature flaky layers, prepare a butter block. Cream cold butter with a small amount of flour and shape it into a rectangle. Chill until firm.
Kneading Techniques
Transfer the dough to a lightly floured surface. Knead for about 7-10 minutes until smooth and elastic. The dough should be soft but not sticky. If it’s too wet, add small amounts of flour as needed.
Use the heel of your hand to push the dough away from you, then fold it back over itself. Rotate the dough 90 degrees and repeat. This develops gluten, creating structure in the pastry.
After kneading, shape the dough into a rectangle. Wrap it in plastic and refrigerate for 30 minutes to relax the gluten.
Dough Proofing
Proofing allows yeast to produce carbon dioxide, creating air pockets in the dough. Place the chilled dough in a lightly oiled bowl. Cover with plastic wrap and let it rise in a warm area (around 24°C/75°F) for 1-2 hours.
The dough should double in size. Gently press it down to release air bubbles. Wrap and refrigerate overnight for slow fermentation, enhancing flavor and texture.
Before shaping, let the dough sit at room temperature for 15-20 minutes. This makes it more pliable for rolling and folding with the butter block.
Laminating the Dough

Lamination is the key technique that creates the signature flaky layers in Danish pastries. This process involves carefully folding butter into the dough to create alternating layers of fat and pastry.
Understanding Lamination
Laminated dough consists of thin layers of butter sandwiched between layers of dough. When baked, the butter melts and creates steam, causing the layers to separate and creating a light, flaky texture. The more layers, the flakier and more delicate the final pastry will be.
For Danish pastries, aim for 27 layers total. This is achieved through a series of folds and turns. The butter must remain cold throughout the process to maintain distinct layers.
Creating Butter Layers
Start by creating a butter block. Soften 225g of butter and shape it into a 15x15cm square. Chill until firm.
Roll out the prepared dough into a 30x30cm square. Place the chilled butter block diagonally in the center. Fold the corners of the dough over the butter, sealing it completely.
Folding Techniques
Use a rolling pin to gently roll the dough into a 45x15cm rectangle. Fold the dough in thirds, like a letter. This is called a single fold.
Rotate the dough 90 degrees. Roll out and fold again. Repeat this process twice more, for a total of four single folds. Chill the dough for 30 minutes between each fold to keep the butter cold.
After the final fold, wrap the dough tightly and refrigerate for at least 4 hours or overnight before shaping and baking.
Shaping and Filling the Danishes
Shaping and filling danishes is a crucial step in creating these delightful pastries. The process involves crafting unique shapes, selecting delicious fillings, and applying them skillfully to achieve the perfect balance of flavors and textures.
Danish Shapes and Sizes
Danish pastries come in various shapes and sizes, each with its own charm. Common shapes include pinwheels, squares, and pockets. To create a pinwheel, cut puff pastry into 4×4 inch squares and fold each corner into the center. For a square shape, simply fold the edges over slightly to form a border.
Pocket-style danishes are made by cutting small triangles on opposing sides of a pastry square. Slice at an angle from the edge of each triangle to create points. This shape is ideal for holding fillings securely.
Another popular form is the diamond shape. Cut the pastry into diamonds and fold two opposite corners towards the center, slightly overlapping them.
Sweet and Savory Fillings
Danish pastries accommodate a wide range of fillings, both sweet and savory. Sweet options include fruit fillings like apricot, cherry, or apple. Cream cheese filling is a classic choice, often enhanced with vanilla or lemon zest for added flavor.
Nutella and lemon curd are modern favorites that add richness and tanginess respectively. For nut lovers, a mixture of ground almonds, sugar, and butter makes an excellent filling.
Savory danishes can feature cheese, herbs, and even meats. A simple cheese danish combines cream cheese with a touch of sugar and vanilla. More complex savory fillings might include spinach and feta or ham and Swiss cheese.
Applying Fillings and Toppings
To apply fillings, place a small amount in the center of the shaped pastry before baking. For cream cheese or fruit fillings, use about 1-2 tablespoons per danish. Spread the filling evenly, leaving a border around the edges to prevent overflow during baking.
Toppings can be added before or after baking. Streusel or chopped nuts sprinkled on top before baking add texture and flavor. After baking, drizzle with icing or dust with powdered sugar for a finishing touch.
For fruit-filled danishes, brush with apricot glaze after baking to give them a shiny, professional appearance. This step also helps preserve freshness.
Baking the Danish Pastries
Proper baking is crucial for achieving perfectly golden, flaky Danish pastries. The right oven preparation, temperature control, and post-baking steps ensure delicious results every time.
Oven Preparation
Preheat the oven to 375°F (190°C) at least 15 minutes before baking. Place a rack in the center position for even heat distribution. Line a baking sheet with parchment paper to prevent sticking and promote easy cleanup.
For convection ovens, reduce the temperature by 25°F (15°C) to account for increased air circulation. Ensure all pastries are spaced at least 2 inches apart on the baking sheet to allow for expansion during baking.
Baking Temperatures and Times
Bake Danish pastries at 375°F (190°C) for 18-22 minutes, until golden brown. For smaller pastries, check after 15 minutes to prevent over-baking. Larger pastries may require up to 25 minutes.
Rotate the baking sheet halfway through cooking for even browning. If baking multiple sheets, switch their positions in the oven at the halfway point.
To bake from frozen, add 5-7 minutes to the total baking time. Do not thaw frozen pastries before baking, as this can make them soggy.
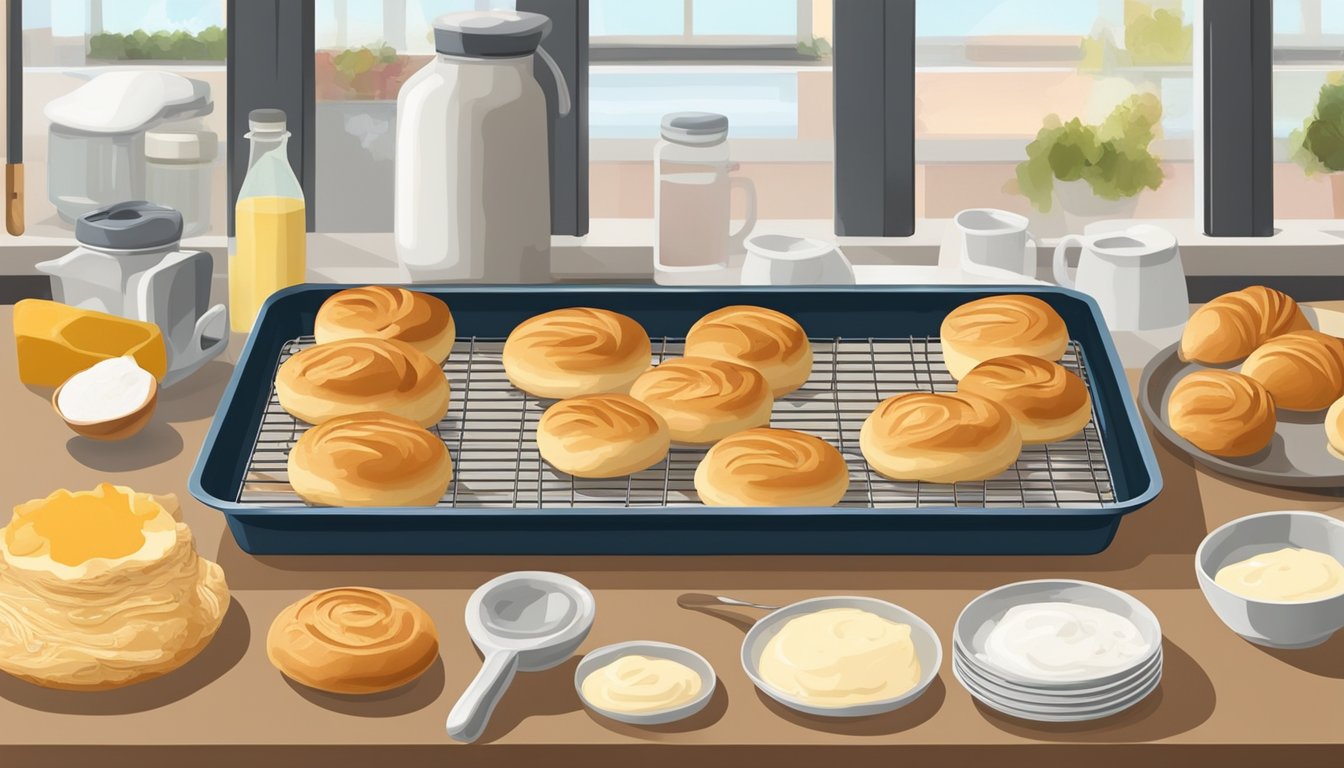
Post-Baking Procedures
Remove pastries from the oven when they’re golden brown and the centers are set. Let them cool on the baking sheet for 5 minutes before transferring to a wire rack.
Apply a light glaze or sprinkle with powdered sugar while still warm, if desired. For a shiny finish, brush cooled pastries with warmed apricot jam.
Allow Danish pastries to cool completely before storing. Place them in an airtight container at room temperature for up to 2 days, or refrigerate for up to 5 days.
Finishing Touches
The final steps can elevate your homemade breakfast danish from good to great. A perfectly applied glaze and thoughtful decorations will make your pastries irresistible.
Applying Glaze and Icing
Create a simple glaze by mixing confectioners’ sugar with a small amount of milk or cream. Whisk until smooth, adjusting consistency as needed. For a richer flavor, add a few drops of vanilla extract. Once danishes have cooled slightly, drizzle the glaze over them in a zigzag pattern.
For a thicker icing, use less liquid. Apply with a piping bag for more control. Experiment with flavored glazes by incorporating lemon juice, maple syrup, or almond extract.
Let the glaze set for a few minutes before serving. This allows it to form a slight crust, adding a delightful texture contrast to the soft pastry beneath.
Decorating Your Danish
Enhance your danishes with toppings that complement the flavors. Sprinkle sliced almonds over fruit-filled pastries before baking for added crunch. For cheese danishes, a dusting of cinnamon sugar provides warmth and sparkle.
Fresh fruit makes an excellent decoration. Top cream cheese danishes with sliced strawberries or whole raspberries. For apple danishes, arrange thin apple slices in a fan pattern.
Drizzle melted chocolate over the glaze for an indulgent touch. Use white and dark chocolate to create striking designs. Edible flowers like pansies or violets add a sophisticated, natural flair to your breakfast pastries.
Alternative Danish Recipes
Danish pastries offer endless possibilities for creative variations. Explore healthier options and diverse flavor combinations to suit different tastes and dietary needs.
Health-Conscious Options
Whole wheat danishes provide a fiber-rich alternative to traditional recipes. Replace white flour with whole wheat flour and reduce sugar content for a more nutritious breakfast treat. Greek yogurt can substitute cream cheese filling, offering protein and probiotics. Fresh fruit toppings like berries or sliced peaches add natural sweetness and vitamins.
For low-carb diets, almond flour danishes are an excellent choice. These use almond flour and cream cheese for a keto-friendly pastry. Sweeten with stevia or monk fruit to keep carbs low. Top with sugar-free jam or a sprinkle of cinnamon for added flavor without extra calories.
Diverse Pastry Recipes
Savory danishes expand breakfast options beyond sweet treats. Spinach and feta cheese create a Greek-inspired filling. Ham and Swiss cheese offer a classic combination. Caramelized onions and goat cheese provide a gourmet twist.
For sweet variations, try apple cinnamon danishes with a streusel topping. Chocolate lovers can enjoy Nutella-filled pastries. Lemon curd danishes offer a tangy alternative to cream cheese. Pumpkin spice filling brings fall flavors year-round.
Vegan danishes use plant-based butter and non-dairy cream cheese. Gluten-free options incorporate alternative flours like rice or tapioca. These adaptations ensure everyone can enjoy homemade breakfast pastries.
Storing and Serving Suggestions

Proper storage and presentation are crucial for maintaining the quality and flavor of homemade breakfast danishes. These techniques ensure your pastries stay fresh and appetizing.
Proper Storage Techniques
Store freshly baked breakfast danishes in an airtight container at room temperature for up to 2 days. For longer storage, refrigerate them for up to 5 days. Place parchment paper between layers to prevent sticking. Freeze danishes for up to 3 months by wrapping each pastry individually in plastic wrap, then placing them in a freezer-safe bag.
To reheat frozen danishes, thaw them in the refrigerator overnight. For best results, warm them in a 350°F oven for 5-7 minutes before serving.
Serving Temperature and Presentation
Serve breakfast danishes at room temperature or slightly warm for optimal flavor and texture. To reheat, place pastries in a 300°F oven for 3-5 minutes. This restores their flaky texture and enhances the aroma.
Present danishes on a decorative platter or individual plates. Dust with powdered sugar for a classic finish. Pair with fresh berries or a dollop of whipped cream for added elegance. Serve alongside hot coffee or tea for a complete breakfast experience.
For brunch gatherings, arrange an assortment of danishes on a tiered stand. Include various flavors like cheese, fruit, and chocolate to cater to different preferences.