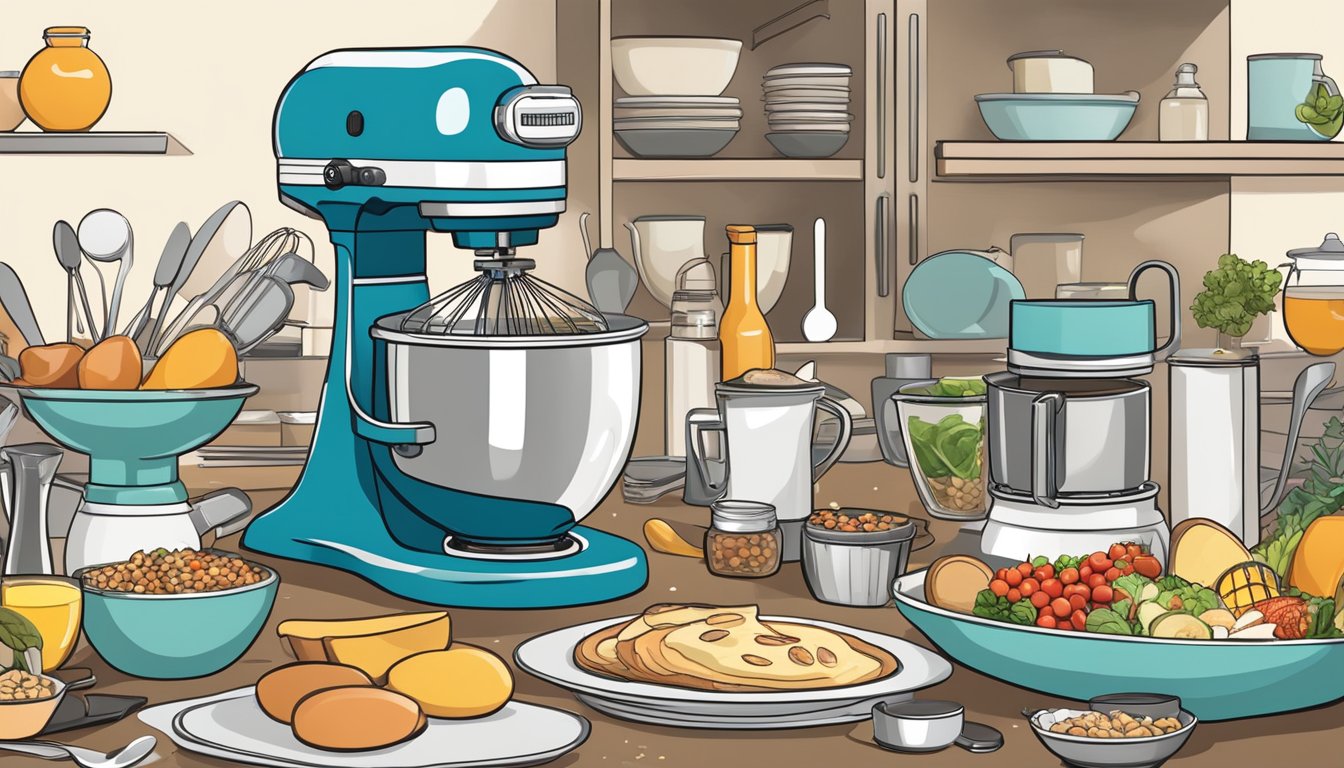
Stand mixers are versatile kitchen appliances that can simplify many cooking tasks, including breakfast preparation. These powerful tools aren’t just for baking cakes and kneading bread dough; they can also be used to create a variety of delicious morning meals.
A stand mixer can save time and effort when making breakfast dishes, from fluffy pancakes to savory quiches. By utilizing the different attachments and speeds, home cooks can whip up impressive breakfast recipes with ease. This article explores ten breakfast ideas that showcase the stand mixer’s capabilities, offering inspiration for those looking to make the most of this kitchen workhorse.
1) Cinnamon Roll Dough
Cinnamon roll dough is a perfect application for your stand mixer. The dough hook attachment makes quick work of kneading, resulting in a smooth and elastic texture.
Begin by combining warm milk, yeast, sugar, and salt in the mixer bowl. Add softened butter and an egg, then gradually incorporate all-purpose flour while mixing on low speed.
Once the ingredients are combined, increase the speed and knead for 5-7 minutes until the dough becomes smooth and pulls away from the sides of the bowl.
After kneading, let the dough rise in a warm place until doubled in size. Then roll it out into a rectangle and spread with a mixture of butter, cinnamon, and brown sugar.
Roll the dough into a log and slice into individual rolls. Place them in a greased baking pan and allow to rise again before baking.
Using a stand mixer ensures even distribution of ingredients and proper gluten development, resulting in soft, fluffy cinnamon rolls with the perfect texture.
2) Pizza Dough

While not typically considered a breakfast food, pizza dough can be a versatile base for morning meals. A stand mixer simplifies the process of making homemade pizza dough, handling the mixing and kneading with ease.
The basic ingredients for pizza dough include flour, yeast, water, salt, and sometimes olive oil. Combine these in the mixer bowl and use the dough hook attachment to knead the mixture.
Most recipes recommend kneading the dough for 8-10 minutes in a stand mixer. This process develops the gluten, resulting in a smooth, elastic texture.
Once kneaded, the dough can be left to rise. For breakfast pizzas, consider toppings like scrambled eggs, bacon, or fresh fruits.
Alternatively, the dough can be prepared the night before and refrigerated. This slow fermentation enhances flavor and makes for a quick morning meal prep.
Stand mixer pizza dough can also be frozen for future use, providing a convenient option for busy mornings.
3) Whipped Pancake Batter

Stand mixers excel at creating light and fluffy pancake batter. The process begins by separating egg whites from yolks. The whites are whipped in the mixer bowl until stiff peaks form.
In a separate bowl, the dry ingredients are combined. The egg yolks and other wet ingredients are mixed together, then incorporated into the dry mixture.
Finally, the whipped egg whites are gently folded into the batter. This technique incorporates air, resulting in exceptionally fluffy pancakes.
Using a stand mixer for this process saves time and effort. It ensures the egg whites reach the perfect consistency without overbeating. The paddle attachment works well for combining the other ingredients.
For added flavor, mix-ins like chocolate chips or blueberries can be folded in at the end. The resulting pancakes are light, airy, and perfect for a special weekend breakfast.
4) Brioche Bread
Brioche bread is a luxurious French pastry that can be easily made using a stand mixer. This rich, buttery bread is perfect for a special breakfast or brunch.
To start, combine flour, sugar, yeast, and salt in the mixer bowl. Use the dough hook attachment on low speed to mix the dry ingredients.
Gradually add warm milk, eggs, and melted butter to form the dough. Let the mixer knead the dough for about 7 minutes until it becomes smooth and elastic.
Place the dough in a warm area to rise until doubled in size. This typically takes around 1.5 hours.
Shape the dough into a loaf or individual rolls. Place in a greased pan or muffin tin for the final rise.
Bake the brioche in a preheated oven until golden brown. The result is a tender, flaky bread with a rich flavor and aroma.
Serve brioche warm with butter, jam, or as part of a savory breakfast sandwich. It’s also delicious toasted the next day.
5) Homemade Bagel Dough
Stand mixers excel at creating perfect bagel dough. Start by combining yeast, warm water, and honey in a bowl, letting it stand for 10 minutes to activate the yeast.
Add flour, salt, and any desired seasonings to the mixer bowl. Use the flat beater attachment to mix these dry ingredients for about a minute.
Switch to the dough hook and gradually add the yeast mixture while kneading on low speed. Incorporate softened butter if desired for a richer dough.
Continue kneading with the dough hook for approximately 7-8 minutes until the dough becomes smooth and elastic. This process develops the gluten, crucial for chewy bagels.
Once kneaded, allow the dough to rise in a warm place until doubled in size. This typically takes about an hour, depending on room temperature.
After rising, shape the dough into bagels and let them rest briefly before boiling and baking. The stand mixer simplifies the process, ensuring consistent, well-developed dough for delicious homemade bagels.
6) Buttered Croissant Dough
Stand mixers excel at creating buttery croissant dough. Begin by combining flour, sugar, yeast, and salt in the mixer bowl. Use the whisk attachment to blend these dry ingredients thoroughly.
Switch to the dough hook attachment. Add cold milk and mix on low speed until a sticky dough forms. Gradually incorporate small cubes of cold butter into the mixture.
Knead the dough in the mixer for about 5 minutes until it becomes smooth and elastic. The stand mixer’s power ensures thorough incorporation of ingredients without overworking the dough.
Cover the bowl and refrigerate the dough for an hour. This chilling period allows the gluten to relax and the butter to firm up, making it easier to roll out later.
After chilling, use the dough to create classic croissants. Roll it into a rectangle, fold it into thirds, and repeat this process several times to create the signature flaky layers.
7) Meringue Topping

Meringue topping adds a light and airy finish to many breakfast dishes. A stand mixer makes creating this fluffy confection quick and effortless.
Start by separating egg whites into the mixer bowl. Whip them on medium speed until soft peaks form. Gradually add sugar while continuing to whip until stiff, glossy peaks develop.
This versatile topping can elevate various breakfast items. Spoon it over fresh fruit for a healthier option, or use it to top pancakes and waffles for a special treat.
For a more indulgent breakfast, spread meringue over French toast before briefly broiling. This creates a delightful contrast of textures – crisp on the outside and soft on the inside.
A stand mixer’s power and consistency ensure perfectly whipped meringue every time. It eliminates the need for manual whisking, saving both time and effort in the kitchen.
8) Chocolate Chip Muffin Batter
Stand mixers excel at creating fluffy chocolate chip muffin batter. The process begins by creaming together sugar, oil, eggs, and vanilla extract until well combined.
Next, the dry ingredients are sifted together in a separate bowl. This typically includes flour, cocoa powder (for double chocolate muffins), baking powder, and salt.
The dry ingredients are then gradually added to the wet mixture in the stand mixer, alternating with liquid ingredients like water or sour cream. This method ensures a smooth, well-incorporated batter.
For the final touch, chocolate chips are folded into the batter. Some bakers reserve a portion of the chips to sprinkle on top of the muffins before baking.
The stand mixer’s power and consistency result in a perfectly blended batter, free of lumps and evenly distributed ingredients. This leads to moist, tender muffins with a bakery-style texture and appearance.
Once the batter is ready, it’s spooned into prepared muffin tins and baked at a high temperature, often starting at 425°F (218°C) for a few minutes before reducing the heat. This technique creates the signature domed tops of professional muffins.
9) Challah Bread
Challah bread, a traditional Jewish braided loaf, can be easily prepared using a stand mixer. This sweet, enriched bread is perfect for breakfast or brunch gatherings.
To begin, dissolve yeast with sugar and warm water in the mixer bowl. Add eggs and oil, then gradually incorporate flour while kneading with the dough hook attachment. The dough should become smooth and elastic.
After the first rise, divide the dough into strands for braiding. A classic three-strand braid is simple, but more intricate patterns can be attempted for a showstopping presentation.
Once braided, allow the loaf to rise again. Brush with an egg wash for a glossy finish before baking. The stand mixer simplifies the process, creating a consistently textured dough with minimal effort.
Freshly baked challah has a soft, slightly sweet interior and a golden-brown crust. Serve slices plain, toasted with butter, or use them to make delicious French toast for a luxurious breakfast treat.
10) Savory Cornbread Mix
A stand mixer simplifies the process of creating a delicious savory cornbread mix. This versatile recipe can be customized with various add-ins to suit different tastes and occasions.
Start by combining cornmeal, all-purpose flour, baking powder, and salt in the mixer bowl. Use the paddle attachment to blend these dry ingredients thoroughly.
Add melted butter, eggs, and buttermilk to the bowl. Mix on low speed until just combined, being careful not to overmix. This ensures a tender texture in the finished cornbread.
For a savory twist, incorporate shredded cheddar cheese, diced jalapeños, or crumbled bacon into the batter. The stand mixer makes it easy to evenly distribute these flavorful additions.
Pour the batter into a greased baking pan and bake until golden brown. The result is a moist, flavorful cornbread with a perfect crumb, ideal for serving alongside chili, soups, or barbecue dishes.
This cornbread mix can be prepared in advance and stored in an airtight container. When ready to bake, simply add the wet ingredients and mix in the stand mixer for a quick and convenient homemade side dish.
Benefits of Using a Stand Mixer for Breakfast Recipes

Stand mixers offer significant advantages for preparing breakfast recipes. They enhance efficiency, save time, and ensure consistent, high-quality results.
Efficiency and Time-Saving
Stand mixers streamline breakfast preparation, allowing for multitasking in the kitchen. They quickly mix batters for pancakes, waffles, and muffins, reducing manual effort and time spent stirring.
The powerful motors in stand mixers can handle thick doughs for breakfast breads and pastries with ease. This saves significant time and energy compared to kneading by hand.
Many models come with multiple attachments, enabling users to whip cream, beat eggs, and even grind meat for breakfast sausages all with one appliance. This versatility eliminates the need for multiple tools and simplifies cleanup.
Consistency and Quality
Stand mixers ensure thorough and uniform mixing of ingredients, resulting in consistently perfect breakfast dishes. The constant speed and motion produce smoother batters and more evenly distributed ingredients.
For recipes like pancakes or waffles, this consistency leads to better texture and flavor in the final product. Stand mixers also excel at incorporating air into batters and doughs, creating lighter and fluffier baked goods.
The hands-free operation allows for precise control over mixing times, reducing the risk of overmixing or undermixing. This level of control is particularly beneficial for delicate breakfast items like omelets or soufflés.
Tips for Preparing Breakfast Recipes with a Stand Mixer
Stand mixers are versatile tools for creating delicious breakfast dishes efficiently. Proper attachment selection and regular maintenance ensure optimal performance and longevity.
Choosing the Right Attachments
The flat beater excels at mixing batters for pancakes, waffles, and muffins. It’s ideal for creaming butter and sugar for breakfast pastries. Use the wire whip for whipping cream, beating egg whites, or creating fluffy meringues for breakfast tarts.
The dough hook is perfect for kneading yeasted breakfast breads and cinnamon rolls. It saves time and effort compared to hand-kneading. For recipes requiring multiple attachments, start with the flat beater for initial mixing, then switch to the appropriate tool for final preparation.
Consider investing in a pasta roller attachment for homemade breakfast noodles or a food grinder for fresh breakfast sausage.
Cleaning and Maintenance
Clean the mixer bowl and attachments immediately after use to prevent food residue from hardening. Most parts are dishwasher-safe, but check the manufacturer’s instructions first. Hand-wash delicate attachments with warm, soapy water.
Wipe down the mixer’s exterior with a damp cloth after each use. Avoid submerging the motor unit in water. Regularly check and tighten any loose screws or bolts.
Store attachments in a dry place to prevent rust. Apply food-grade mineral oil to metal attachments occasionally to maintain their finish. Inspect the power cord for any damage before each use.
Refer to the user manual for specific maintenance schedules and procedures for your model.


